


The Price Memory Zones Indicator for NinjaTrader 8 w/ Source Code: Where Price Actually Remembers to React
Full guide on the Price Memory Zones Indicator for NinjaTrader 8, available on Rize Capital with full source code for a one time payment.
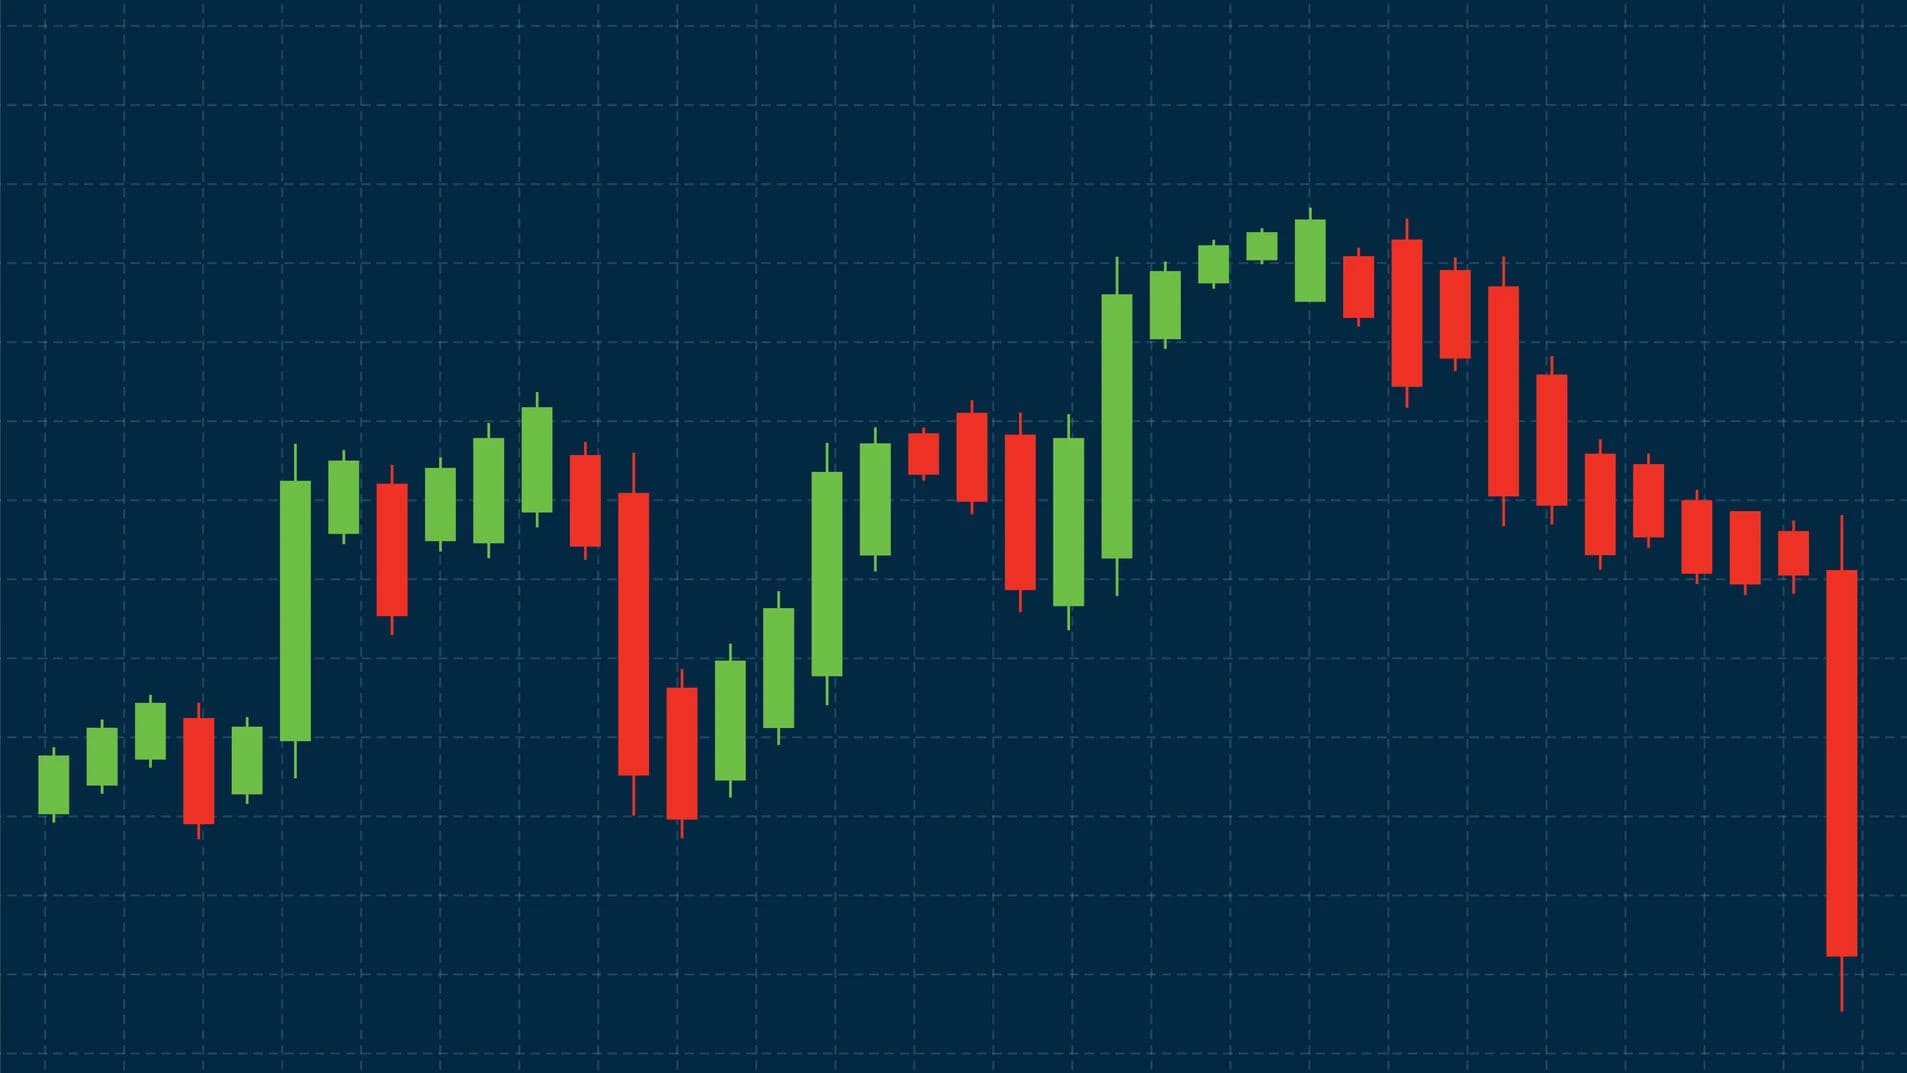
Let's be honest about support and resistance.
Most traders draw horizontal lines at swing highs and swing lows, calling them "key levels." Then they wonder why price blows through half of them without even slowing down whilst mysteriously respecting other levels that don't look particularly special on the chart.
The problem isn't your eyesight. It's that traditional support and resistance identification misses something fundamental: frequency. A swing high that occurred once might be visually obvious, but a price range where bodies overlapped repeatedly across multiple sessions—even if no single candle made a dramatic high or low there—often produces far more reliable reactions.
Think about it. Where does price actually remember to pause, reverse, or accelerate? At the areas where the most trading activity concentrated. Where bodies clustered. Where the market spent time establishing value through repeated interaction—not just touching briefly before moving on.
Identifying these high-frequency overlap zones manually is practically impossible. You'd need to analyse where candle bodies positioned themselves across multiple sessions, build a histogram of price density, identify the peaks in that distribution, then somehow visualise those statistical clusters as tradeable zones. The mathematics alone would consume hours for a single chart.
The Price Memory Zones Indicator for NinjaTrader 8 does this automatically in seconds.
Created by Rize Capital, this professional indicator analyses recent sessions, identifies price levels where candle bodies most frequently overlapped, and transforms those high-memory regions into clean, shaded zones directly on your chart. Not swing highs. Not round numbers. Not arbitrary Fibonacci levels. The actual statistical areas where your instrument demonstrated that it remembers to react.
Apply it to any chart. The indicator immediately displays smooth, colour-coded bands—royal blue for the strongest memory zone (where price interacted most frequently and intensely) and goldenrod for secondary zones (additional high-density areas that still produce reactions). These aren't lagging moving averages or static pivots. They're objective, statistically-derived zones showing where price behaviour has been most concentrated.
You receive the complete NinjaScript source code with purchase. You own it. You can modify the aggregation logic. You can adjust the density thresholds. You can integrate it into automated strategies. Total freedom.
Whether you're a day trader looking for precise pullback entries within trends or a swing trader identifying multi-session value areas for position building, Price Memory Zones eliminates the guesswork from level identification and gives you statistical clarity about where reactions are most probable.
Primary vs Secondary Zones: Reading the Hierarchy
Price Memory Zones displays up to your configured number of bands (default five, adjustable via the Top K Bands parameter), but not all zones carry equal significance.
The Primary Zone (Royal Blue) represents the absolute strongest memory area—the price range where body overlap frequency reached its maximum across your analysed sessions. This is where the market spent the most time, where the most trading activity concentrated, where value has been most consistently established.
When price approaches the primary zone, you should be at maximum attention. This isn't just another support or resistance level—it's the statistical epicentre of recent market activity. Reactions here tend to be most pronounced because the greatest number of market participants have reference points and positions anchored to this range.
In trending markets, the primary zone often sits behind current price, marking the "home base" from which the trend is extending. Pullbacks that reach this zone frequently produce high-probability continuation entries because you're buying (in uptrends) or selling (in downtrends) at the level where the market has demonstrated it considers value fair.
In ranging markets, the primary zone often sits in the middle of the range, representing the equilibrium around which price oscillates. Fades from the range extremes back toward the primary zone capture mean reversion as price returns to established value.
Secondary Zones (Goldenrod) represent additional but less dominant high-density areas. These are still statistically significant—they passed your minimum density threshold—but they don't match the primary zone's intensity.
Think of secondary zones as "supporting cast" levels. They're legitimate memory areas that produce reactions, but with somewhat less reliability than the primary zone. Many traders use secondary zones for:
- Partial profit-taking: If you entered near the primary zone, secondary zones between your entry and target provide logical levels to scale out portions of your position.
- Additional entry opportunities: If you missed the primary zone entry, a reaction at a secondary zone might offer a second chance (though with slightly lower probability).
- Context for breakout strength: When price breaks through a secondary zone with conviction whilst the primary zone remains intact, it suggests momentum building toward testing the primary zone.
The colour coding makes hierarchy instantly obvious. Your eye is drawn to the royal blue primary zone first—this is your highest-priority reference. The goldenrod secondary zones provide additional context without competing for visual dominance.
Understanding the Alert System
Price Memory Zones includes comprehensive alert functionality that keeps you informed of significant zone interactions without requiring constant chart surveillance.
- Alert on Touch triggers when price enters a memory zone from outside. This is your heads-up notification—price has reached a statistically significant area where reactions are probable. The alert doesn't tell you what will happen (bounce or break), just that you're at a decision point worth monitoring.
- Alert on Bounce fires when price exits the zone on the same side it entered. This indicates rejection—the zone is holding, price bounced rather than breaking through. For trades based on zone bounces, this alert confirms your setup is activating. A simple internal flag tracks whether entry came from above or below, allowing the indicator to distinguish bounces from breaks algorithmically.
- Alert on Break fires when price exits the opposite side from where it entered. This signals pass-through—the zone didn't hold, price broke rather than bouncing. For breakout continuation strategies or for managing existing positions, this alert indicates the market has demonstrated sufficient momentum to overcome the memory area.
These alerts operate in real-time only (not historically, which would flood you with irrelevant notifications about past touches). Configure them through NinjaTrader's standard alert system, allowing audio sounds, pop-ups, emails, or any notification method you've set up.
The alerts serve as "attention nudges" rather than automated trade signals. They inform you when statistically significant zone interactions are occurring, allowing you to apply your trading methodology to those opportunities rather than trying to watch every zone constantly across all your monitored instruments.
Source Code: Understanding and Extending
When you purchase Price Memory Zones from Rize Capital, you receive the complete NinjaScript source code with clear internal documentation explaining the methodology.
The code structure includes organised sections outlining:
- Session profiling: How the indicator extracts body position data from each analysed session
- Aggregation with decay: The mathematical approach to combining multiple sessions with recency weighting
- Smoothing logic: How adjacent bins are blended to eliminate fragmentation
- Band extraction: The peak identification algorithm that transforms histogram data into tradeable zones
- Alert mechanisms: The internal flag logic that tracks entry direction to distinguish bounces from breaks
This transparency allows you to understand exactly why zones appear where they do. You're not trusting a black box algorithm—you can study the methodology and verify it aligns with sound statistical principles for identifying high-frequency overlap areas.
More importantly, you can modify anything. Want to incorporate volume weighting so zones factor in not just body overlap frequency but trading volume at those levels? Add the volume analysis. Want to create multi-timeframe memory zones showing where higher timeframe bodies overlap with current timeframe analysis? Expand the session profiling logic. Want to integrate memory zone proximity into automated entry strategies? Extract the zone calculation functions.
The code ownership means the indicator evolves as your trading evolves. You're not locked into the original implementation—you can experiment with variations, test enhancements, and refine the system to match your developing understanding of how your specific instruments establish and respect memory areas.
Conclusion
Download Price Memory Zones from Rize Capital. Import through NinjaTrader's add-on system. Apply to any chart with one click. The zones appear immediately, showing you statistically where your instrument has demonstrated it remembers to react.
Start with defaults—they work. Observe how price interacts with the zones. Notice whether bounces occur more reliably at memory zones versus random swing highs and lows you might have marked manually.
Draw zones on multiple timeframes—perhaps 5-minute for intraday entries and 60-minute for broader context. Watch how different timeframe memory zones interact, often creating confluence areas where multiple timeframe analysis aligns.
Enable alerts so you're notified when price reaches these high-probability zones without needing to watch constantly. Let the indicator do the monitoring whilst you focus on execution.
As you gain experience, experiment with parameters. Adjust session count to find the balance between stability and responsiveness for your instruments. Modify bin size to achieve the granularity appropriate for your tick values and trading style. Tweak minimum density percent to control how many zones display.
The indicator includes complete source code, so as your understanding deepens, you can modify the methodology to match your evolving insights about how your markets establish and respect memory.
Price Memory Zones isn't just another indicator. It's a statistical lens showing you where your market actually remembers to react—not where you hope it will, not where theory suggests it should, but where historical body overlap frequency demonstrates it does.
Download it today and stop guessing at support and resistance.

Shariful Hoque
SEO Content Writer
Shariful Hoque is an experienced content writer with a knack for creating SEO-friendly blogs, marketing copies and scripts.
Related Posts
Best Volume Indicators that Every Trader Should Know
Unlock the secret behind market moves – explore the best volume indicators every trader must know for smarter, stronger trades
.webp&w=2048&q=75)
How to See Market Trend in NinjaTrader 8: A Simple Guide
Discover how to analyze market trends in NinjaTrader 8 with this simple guide. Learn to use trend indicators and improve your trading strategies.

Best Free NinjaTrader Indicators That You Should Always Keep
Discover the best free NinjaTrader indicators that can enhance your trading strategies. Improve and automate your trades with these essential tools.
